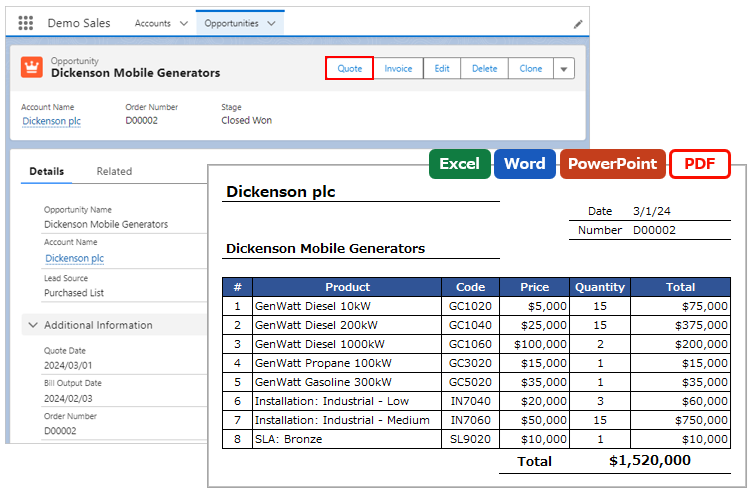
Create buttons on the Experience Cloud site.
*This procedure is for Office File Creator Ver. 1.
Create Lightning Component Buttons
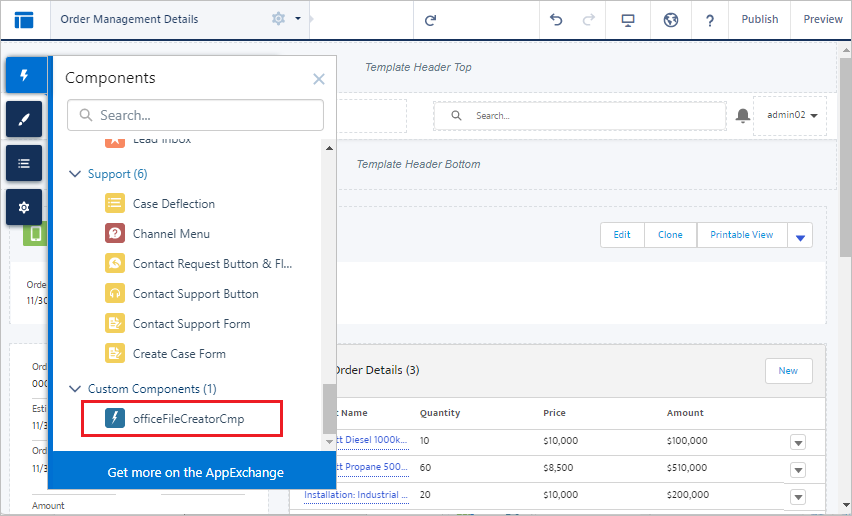
From the Builder screen, open the record detail page where the button will be displayed. Open a component from the component icon in the upper left corner of the screen. Select "officeFileCreatorCmp" in Custom Components and drag & drop it to the position where you want the button to appear.
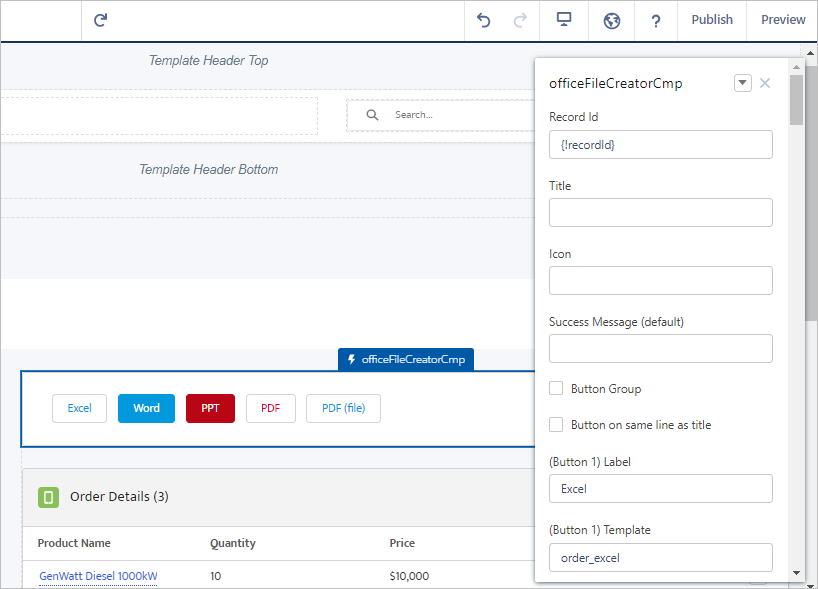
Select the placed officeFileCreatorCmp and enter the values. Up to 10 buttons can be placed in one Lightning component.
Settings
| Field | Contents |
| Record Id | Record Id. {!recordId} is set by default. |
| Title | Title of the component.
e.g. Documents |
| Icon | Icon of the component. Enter in the format "Icon Type:Icon Name", all lowercase.
e.g. standard:quotes |
| Success Message (default) | Default message to be displayed after file output and saving is complete. If left blank, no message will be displayed. |
| Button Group | Spacing between buttons when multiple buttons are placed.
|
| Button on same line as title | Display position of the button when Title or Icon of the component is displayed.
|
| (Button 1) Label | Button label name
e.g. Invoice Excel Output |
| (Button 1) Template | Template API Name for OFC_Template record, must be entered if Label is set. |
| (Button 1) Save | Sets how the file is saved.
|
| (Button 1) Style | Sets the style of the button from the selection list value. If left blank, neutral is applied.
|
| (Button 1) Icon | Icon of the button. Enter in the format "Icon Type:Icon Name", all lowercase.
e.g. utility:download |
| (Button 1) Tooltip Text | Tooltip text that appears when the mouse cursor hovers over a button. |
| (Button 1) Success Message | Message to be displayed after file output/saving is complete.
If this field is left blank, "Success Message (default)" will be displayed. |
To display multiple buttons, set (Button 2) through (Button 10) in the same manner as (Button 1). If you enter (Button XX) Label, be sure to enter (Button XX) Template.
About Icons
Refer to the Lightning Design System for the Icon name to be set. Select Icon Type from Utility, Doctype, Standard, Custom, or Action and enter it in the format "Icon Type:Icon Name". Set all in lowercase.
e.g. 1: standard:quotes

e.g. 2: utility:download

Style Sample

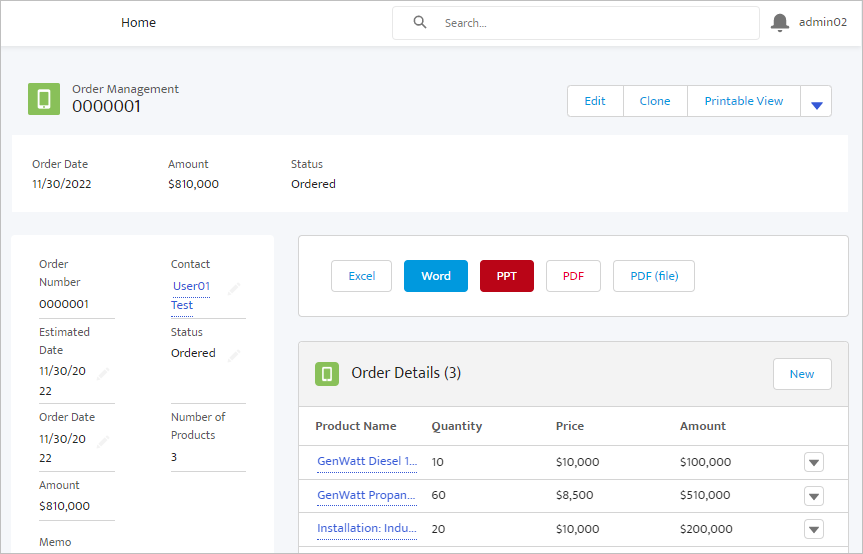
Sample screen after placing buttons
Test Output
When testing file output and saving from the site screen, please check on the actual screen after publication, not on the preview screen. Downloading and saving files on the preview screen does not confirm correct operation and content.
The following is a description of the events that caused the error in the preview screen.
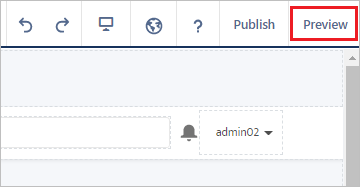
Preview screen opened from "Preview" in the upper right corner
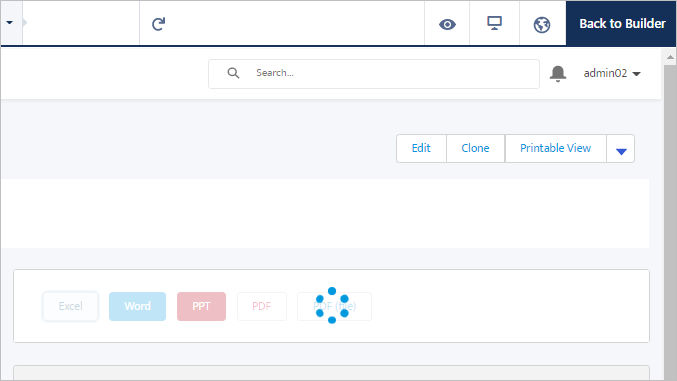
No files can be downloaded or saved at all from the preview screen.
Clicking the button displays the screen being processed, but no files are output or saved from the preview screen.
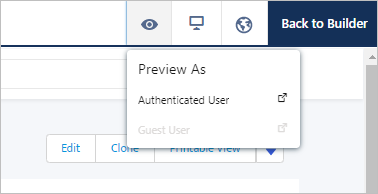
Preview screen opened from "Preview As"
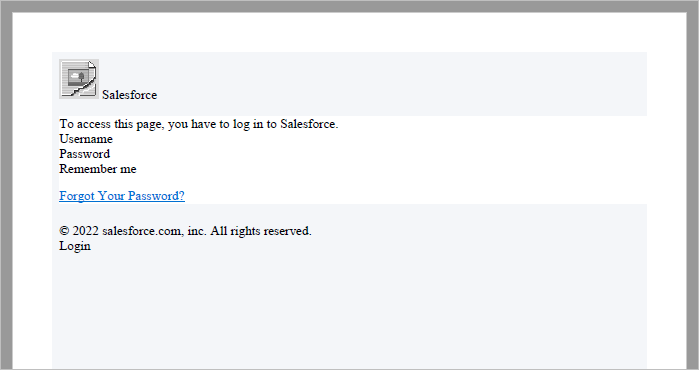
The preview screen when logged in as an Authenticated User or Guest User with "Preview As" from the preview screen does not reflect the correct content of the PDF when downloading and saving the PDF.
The file will be output, but the contents of the output PDF will show "To access this page, you have to log in to Salesforce".
Considerations for Guest Users
- For guest users, the organization-wide sharing settings are set to Private for all objects. Access permissions to the OFC_Template object for guest users require creating a sharing rule. See the Salesforce help below for more information.
Best Practices and Considerations When Configuring the Guest User Profile
Create Guest User Sharing Rules
Test Guest User Access in Your Experience Cloud Site
- Saving files to Salesforce by guest users is not supported. Guest users can only download files.
Reference
Icon samples for the document buttons & titles