Create the custom button on the record detail page for outputting the file.
*To output and save a file from a Lightning Component button, see Create Lightning Component button.
5.1. Create Custom Button
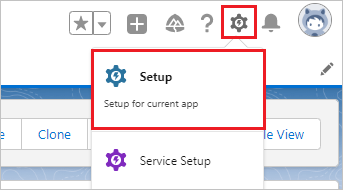
Click Setup from the settings icon in the upper right corner of the screen.
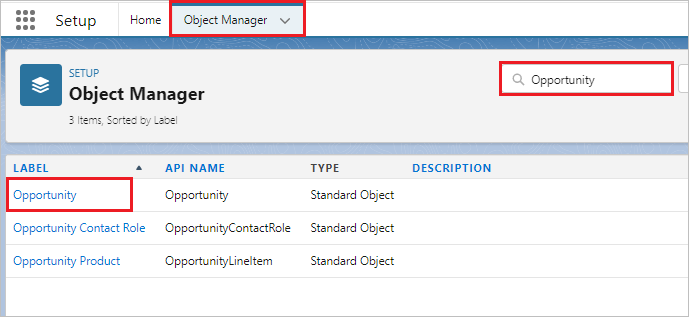
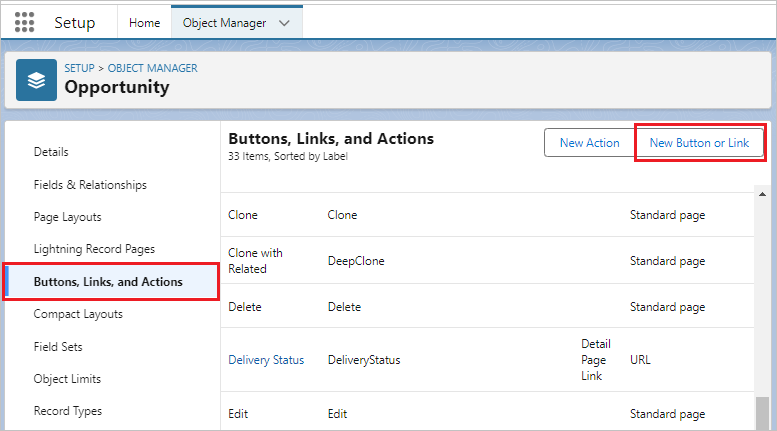
Select the Object Manager tab, enter the master object name in the search box, and click on the object label name from the list.
e.g., Opportunity
Click Buttons, Links, and Actions in the left sidebar, then click New Button or Link.
Enter each field and click Save.
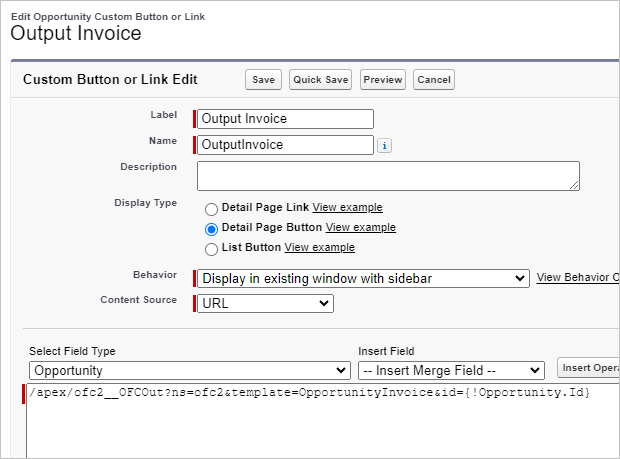
Custom Button Contents
| Field Name | Contents |
|---|---|
| Label | Enter the label name of the custom button to be placed on the record detail page. e.g. Output Invoice |
| Name | Enter the API name for the custom button. e.g. OutputInvoice |
| Display Type | Detail Page Button |
| Behavior | Display in existing window without sidebar |
| Content Source | URL |
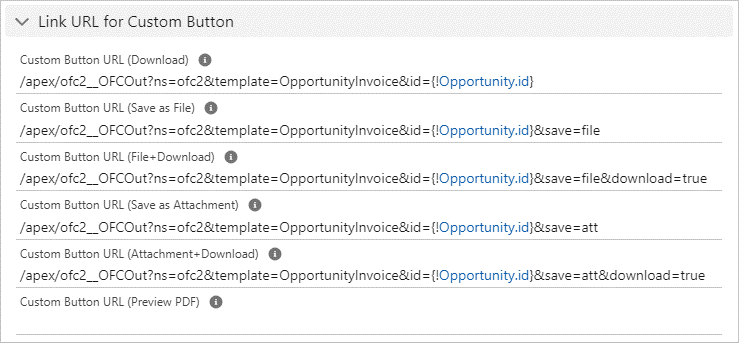
| URL | Copy and paste the value of the "Custom Button URL(XXX)" field in the OFC_Template record.
e.g. /apex/ofc2__OFCOut?ns=ofc2&template=OpportunityInvoice&id={!Opportunity.id} |
Copy the URL value from the OFC_Template record.
5.2. Put the custom button on the page layout
Click Page Layouts in the left sidebar, then click the name of the page layout where you want to place the custom button.
Click Mobile & Lightning Actions and drag the custom button you created into Salesforce Mobile and Lightning Experience Actions, and then click Save.

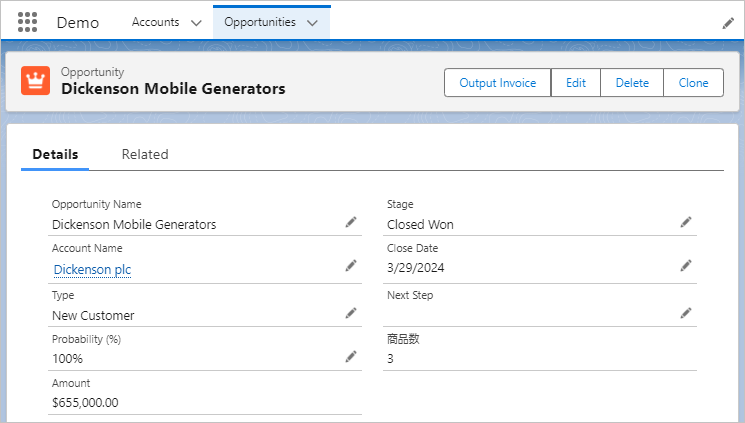
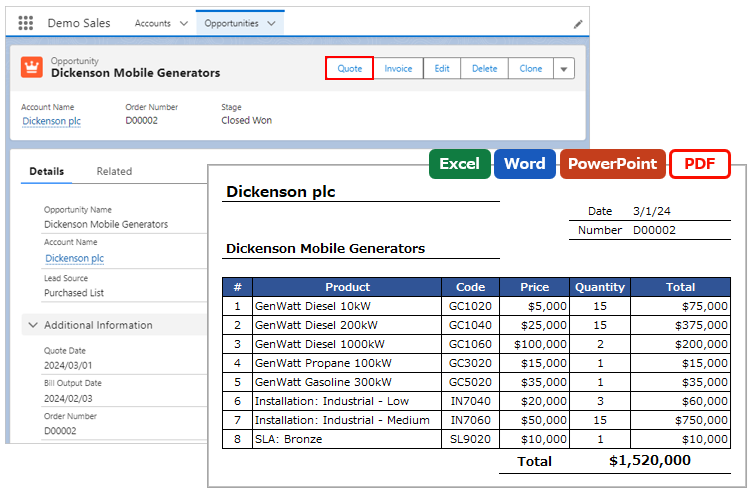
5.3. Export to File
From the record detail page, click the Custom button to output (or save) the file.